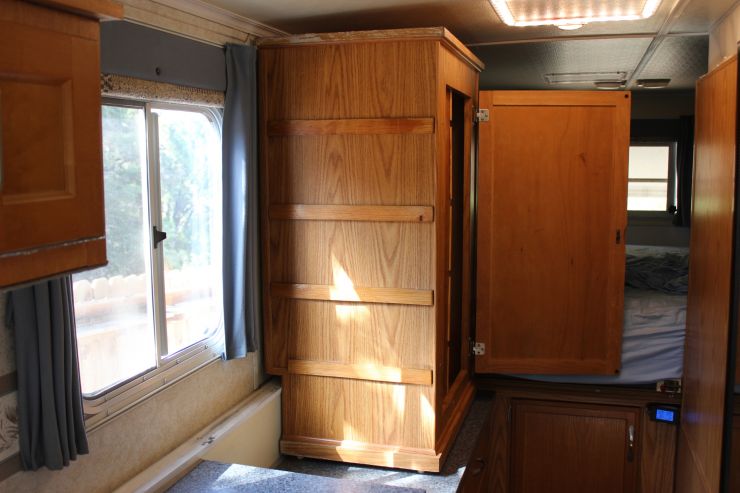
This was by far one of the most tedious modifications I have attempted on our TM. I, not being a purest type craftsman but rather a butcher of most things, was able to make this happen. Although it did not come out exactly perfect by no means it did come out ok but most of all functional (I’ve always been a more function over fashion guy anyway).
The management (bless her wonderful soul!!!) decided that we really didn’t hang up that much stuff in the wardrobe but rather folded and just crammed things in willy-nilly on the bottom anyway we could… shoes... dirty cloths… and clean T shirts etc... but mainly shoes (sometimes I think she got the Amellda Marcos gene).
So she requested of me to somehow fashion some shelves or cubby holes to stash things away in. That’s all it takes from her to get me to swing into action on a project. Anything to make her happy makes me happy as well!
I guess that the hardest thing about this is that… well… the wardrobe’s already put together. Plus it’s tight quarters to boot. So I had to make things fit as well as they could but still be able to get the components in and out for measurements and fittings etc... After deciding that I would try for 15 cubby holes of almost the same proportions (accept for the very inside bottom which would be smaller due to the cabinet itself) I set to work.
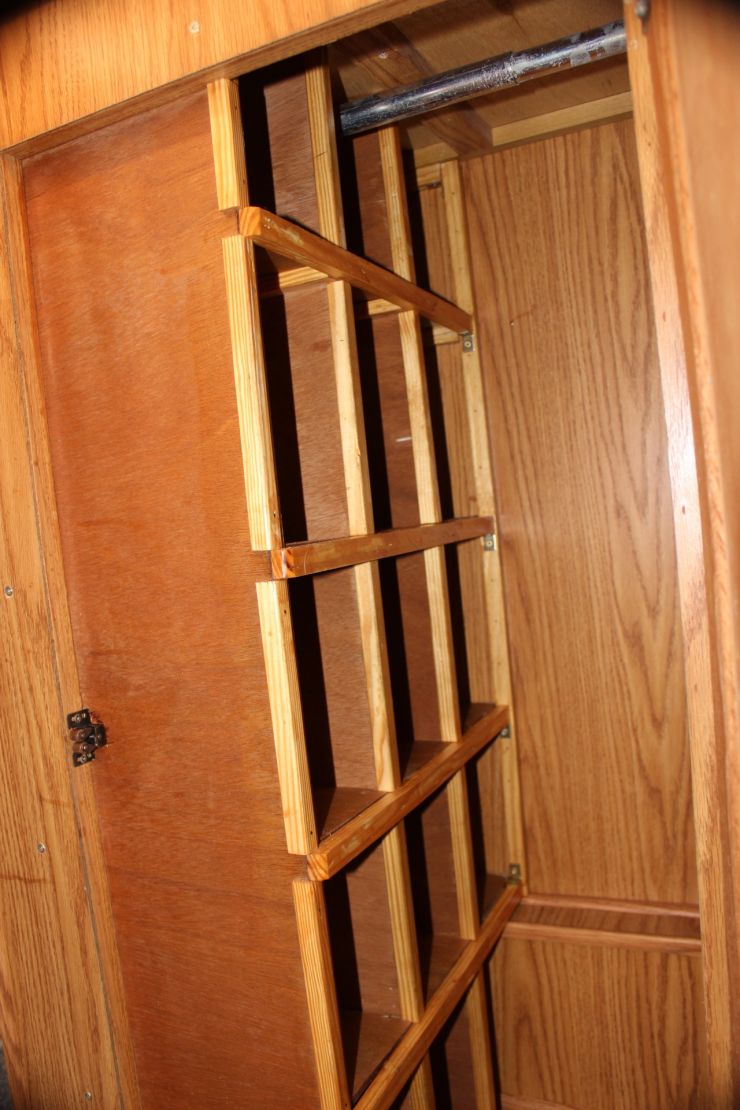
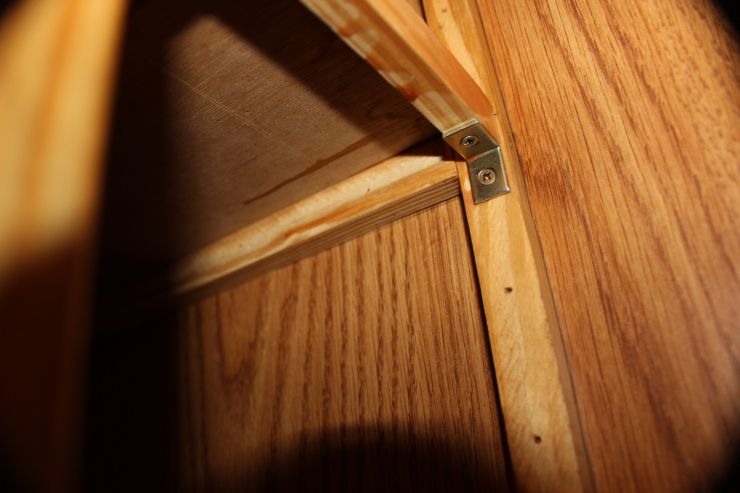
I had to cut a slot for the door latch in the front panel (image 2597) so the panel would lay flat against the front frame of the wardrobe and not bulge. I also used some angle brackets (one on each side of the partition… image 2595) in two different places to strengthen the partitions and keep them from wobbling.
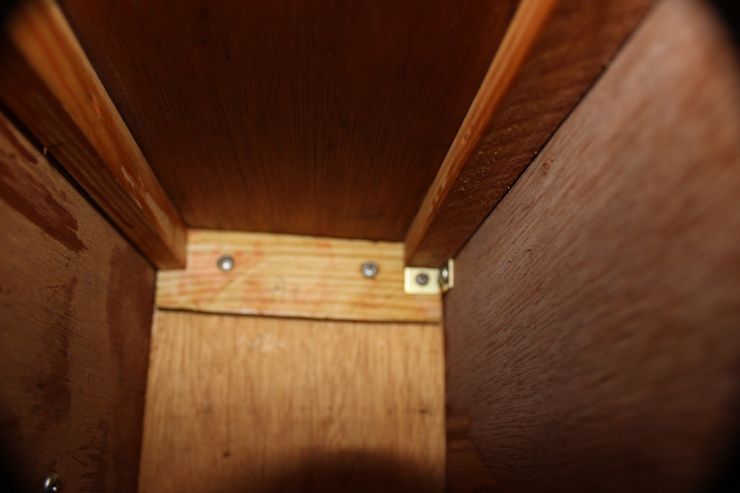
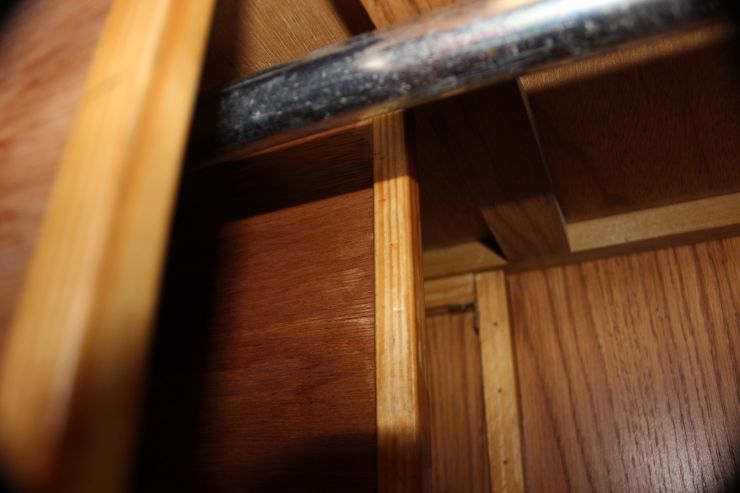
Then to finish making it even more sturdy I ran some more ½ x ¾ moldings across the bottom of each row of cubby holes tying all the partitions together and with angle brackets (tying them into the rear frame) and finished it all off with some ¼” 90 degree molding in between each row of shelves (image 2592). And there you have it. I don’t think I’ll try this ever again!!